Tuesday, 28 June 2016

A Summer of Inspiration - above and below water


These are just some of the many images I took during our long summer. 

The sea is a continual source of inspiration for me - an ever-changing, rhythmic kaleidoscope of colours and patterns, constantly affected by the fall of light, time of day, weather, the habitats, the depth...  all contributing to the mood and sense of the locations. 

These images also resonate, for me, with the memories of being there,
so much more than merely visual.


 Water surfaces - from above


Water surfaces from below


Underwater-scapes


Plenty of inspiration to be getting on with 
over the colder months, 
and beyond.

Watch this space...


Saturday, 21 May 2016

Caustic etching lino - an update


Through repeated trials and testing I've managed to fine tune some of my process 
since my previous post, so here is an update of some key points:

Etched lino shows an all-over texture after etching

Problem: Lino shows an all-over texture after etching - this texture could be used to your advantage but for what I had in mind, I don't always want it. 

Solution: sand the lino with wet and dry sandpaper (I used 400 grit). I noticed that some lino I have used etches smoothly while some etches leaving a background texture. I tested 2 pieces of lino - Silkcut and some from National Art Supplies. The NAS lino has a harder, more plasticky surface. 
Sand the surface to achieve an all-over even matte surface. This is easy and quick with Silkcut but it takes quite a bit of time and elbow grease with the other lino.


Sand the lino with wet and dry sandpaper
to form a slurry all over the surface.

Silkcut lino on the left after sanding, other lino on the right - you can
see it still has a bit of a sheen in patches so needs more sanding. 


Both lino samples are etching evenly and at the same rate.

Lino etches smoothly
Testing plates with relief inking, intaglio inking
and printing over monoprint backgrounds.

I cut away areas of the lino plates that had etched
with the strong texture to see what effects I might achieve.

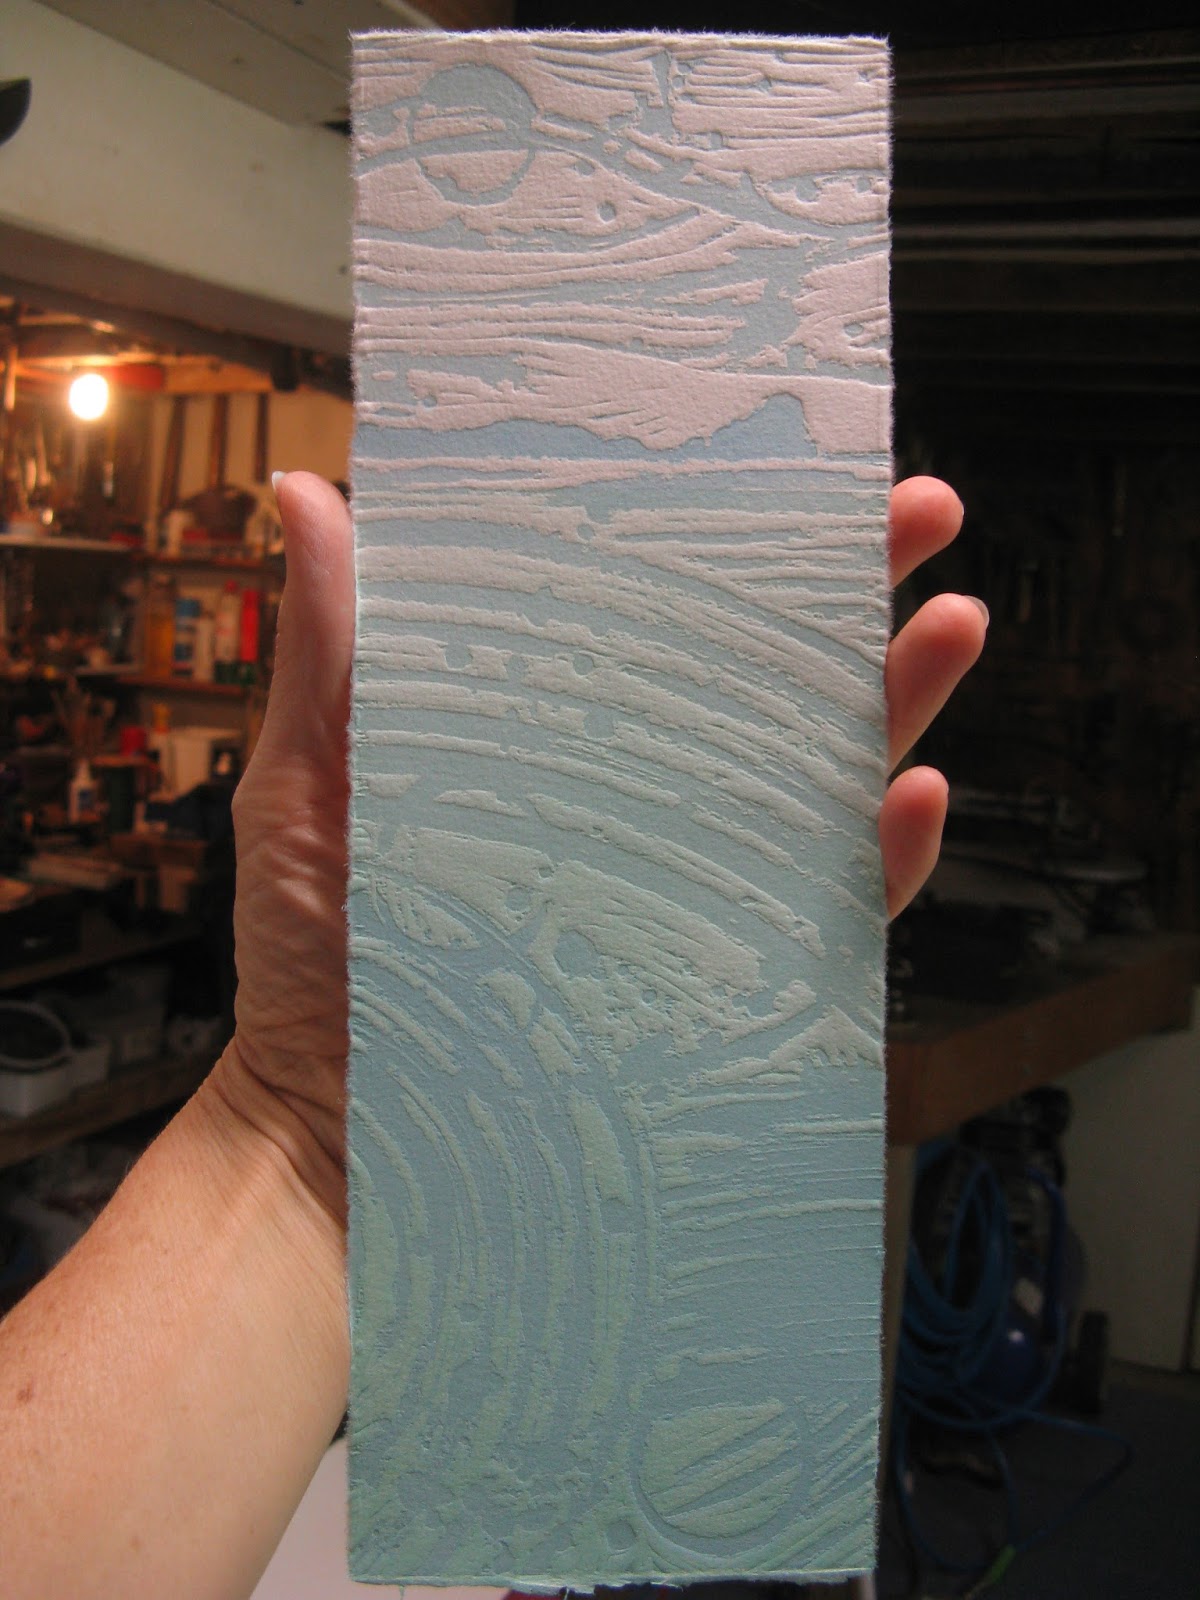
Lino plate - etched and cut
by Toni Hartill

The main thing I am learning from this repetition of trial and error is that I am fine-tuning the process and materials to MY way of working, in fact I am learning WHAT my way of working is. I'm not one to take a set of guidelines or rules and to follow them precisely - I'll reinterpret them my own way - ask anyone who has tried to cook from one of my recipes - they are NEVER as they are first written.

You may find some of the steps don't work for you, 
or with your materials - there are so many variables in this printmaking lark that can make all your efforts go pear-shaped: is it the paper weight, the ink, the pressure of the press, the dampness of the paper, the position of venus, the pattern of my tea leaves!??? or is it just me?.....


So, my advice is, 
follow instructions only so far, 
then, through lots of your own trials 
make it work for you and your way of working.

And I'd love to hear and see what works for you 
if you'll share your successes in return. 

Happy experimenting!


Tuesday, 10 May 2016

Caustic etching - trials and tribulations!


Caustic test prints by Toni Hartill

As a rule I steer well clear of any processes that involve toxic fumes and nasty chemicals but... 
we were introduced to 
CAUSTIC ETCHING LINO

To be honest I wasn't too keen. Dianne calls it the MONGREL etch!
And when she donned all the safety gear... well... I was walking backwards outa the room!
BUT...
actually it did show potential. 
I had prepared a lino block by painting a pattern with ashphaltum. This was duly etched by the ever intrepid Dianne in full kit and... actually it has proved to be a very versatile and effective plate that I have used extensively.

My caustic etched lino being inked up by Dianne Fogwell.

So, it did warrant further investigation. 

In this blog I will firstly outline what I have trialed, and succeeded or failed at, then I will give more specific notes on what was successful (repeatedly) for me in case you want to give it a go.

Make sure you read labels and follow all safety instructions! Caustic soda burns!
Also work outside with plenty of ventilation and have plenty of water on hand for accidental splashes and spills.


Session 1: fellow printmaker Celia Walker joined me for mutual support and bravery 
and we trialed 
the Caustic Bath Method (as shown by Dianne)
and
the Gel Method (as found online on various sites including here.)


BATH METHOD

I prepared a test plate with an array of various resists.

Resist Lino Test Plate for Caustic Etching
This was etched in a bath of caustic solution as per our instructions but it wasn't a roaring success. As you can see in the image below, the areas that are being etched are strongly patterned. I realized AFTER I had applied most of the resists that I hadn't degreased/ sanded the lino first so then DID sand it for one remaining  square (the Resene Concrete Clear) and the results were much better. However, we found this method quite a palaver with having to be super careful not to splash or spill, the lino needs weighting down as it curls, and ... actually it was very slow-working. The lino needs to be in the solution for up to an hour and by this stage many of the resists were wearing off before we had achieved a deep enough etch.

We were expecting something a lot more dynamic! We were left feeling a bit over-amped and overdressed for the occasion. Although all the safety gear IS A MUST with this technique.


Test plate shows the exposed lino being etched in a pattern,
probably due to not being sanded first.
The test plate was interesting to see which resists stood up better than others. 
My preferred one is the Resene Concrete Clear (because I have it and use it for multiple things - it's basically an acrylic clear glaze). It gave a crisp edge to the etching and seemed to adhere the best for the required long etching time.

Resist Lino Test Plate for Caustic Etching - etched and cleaned.

GEL METHOD

This method is a lot safer and more controlled. A gel is made using wallpaper paste to thicken the solution and it can be "painted' on directly to the areas of the lino that you want to etch. Because the gel is thick there is little risk of splashes and spills once the gel is prepared and, apart from a wee waft of fumes given off in the initial mixing, the gel is not at all pungent. 
Gloves, plastic apron (hence our Snoopy aprons) and safety glasses are still a must.


Preparing the Caustic Gel.


What happens to a brush
if you use it to paint on Caustic Gel!

Note to self: Don't use a brush! Use a wooden spoon or spatula.

Spooning the caustic gel onto a prepared lino plate.

This method felt much more controlled and, with a bit of tweaking to the recipe, showed much more promise for further investigation.


Session 2: GEL METHOD

Taking what we'd learnt, I retested this method.

Step 1: Paint on the resist and leave to dry well.

I used Resene Concrete Clear, but see my test plate above for other ideas of resists to try.

Applying a resist to the lino for etching in caustic.

Step 2: Make up the gel: 

I used a 340g jar.
Into this I mixed 1 (plastic) tsp of wallpaper paste with a dash of water - this is the tricky bit because the paste immediately goes into a thick lump - which you don't want so it takes a bit of practice to sprinkle the paste into some water and mix quickly to break up any lumps. 
Take the time to squash away the lumps. Add more water until the jar is about 1/3 full. Mix and leave to thicken for a few more minutes.

Add 3 tsp of caustic soda granules and mix in well.
The mixture heats up instantly and goes white and a bit frothy.


Step 3: apply the gel:

Don't use a brush - it WILL dissolve! (Speaking from experience here...)

Use a wooden spoon/ spatula ( I shaped my own fit for purpose) to apply the gel to the lino.


Place your lino on plenty of newspaper
and possibly in a large tray.

The lino immediate starts to yellow where it is etching. 
The longer it etches the stronger the colour.


The lino turns a strong yellow showing
where it is being etched.


Watch the areas of resist to see when/ if it is being etched through and you may want to stop it etching any further. (You can always reapply resist to some areas and re-etch it.) So, when you are ready to stop the etching, place the lino in a sink and wash it well with running water. Pour over a dash of vinegar or lemon juice to neutralize the caustic (the lino will turn back to grey showing it is no longer etching). Scrub the lino well, front and back, dry off on an old towel and leave to dry.


Ta-daa!

Caustic etched lino by THartill

As you can see by the texture, again, I forgot to degrease/ presand the lino! 
But actually the texture is quite appealing and it could be used to advantage.


Caustic etched lino by THartill
I have since carved away areas of the lino to get a combination of effects.


Caustic etched lino and print by THartill
Most of the Resene Concrete Clear washes away with the scrubbing. In one of my plates (as seen below) there is still some remaining on the plate. Possibly, because I reapplied it and re-etched it to get more texture, it was quite thick in places but I have since printed the plate and it doesn't matter that it is still there in places. 


Feeling fairly pleased with these results I have gone on to make some more lino blocks to use as texture plates in my current work.


Applying resist to lino - THartill

Etching lino using gel method - THartill

Caustic Gel at work - THartill

Caustic Etched lino - THartill

Caustic Etched lino - THartill

Proofing the caustic etched lino - THartill

Samples of test prints using caustic etched lino  and
caustic etched plywood - THartill


Hope you find this interesting and helpful!

Happy, and safe, printing!


Wednesday, 9 March 2016

Why collaborative projects are good for your growth as an artist


I have recently participated in another couple of collaborative print projects and I wanted to share what I think are some of the benefits of taking part in these sorts of events.

Firstly, here is an outline of the projects I have been involved with recently:


SGCI Themed portfolio

Last year I took part in a collaborative project which involved creating a portfolio of works that have been sent to the SGCI Conference -FLUX, in Portland, Oregon, The conference is taking place March 30- April 2nd this year. You can read more about this project here.


50 hour Print Marathon
to celebrate 50 years of the Print Council of Australia.
This was organised in New Zealand by Toni Mosley of Blue Bathtub Press in collaboration with Simone Tippett of Union Street Printmakers in Adelaide and took place over 50 consecutive hours at Nathan Homestead, NZ and at four locations in Adelaide, Australia.
Each group produced 50 themed monoprints. Participants dropped in during the 50 hours and worked on parts of several prints at a time. 

The focus was on building communities, having fun, experimentation, play, and collaboration. 
25 prints from each city will be swapped with the other and, later in the year, each city will exhibit their 25 prints alongside the other city's prints. All prints will be for sale and commemorative zines will also be available.

Several members of my print group,Waitakere Printers Ink, went along to take part and it was fun working alongside, sharing ideas and freaking out at the challenge of working on top of someone else's work, while in full view of others! No hiding behind closed doors or chucking your cock ups in the bin!


Toni Mosley (right) of Blue Bathtub Press


A selection of some of the prints.


50 printmakers produce 5 collaborative prints
also to celebrate 50 years of the Australian Print Council.

For this project there are 5 groups of 10 printmakers.
Each group will produce an edition of 12-14 prints.
Each printmaker will receive a final print that their group has produced.
One print from each group will be sent to the Print Council of Australia to be exhibited under the umbrella of the Print Council of Aotearoa New Zealand.

I have just completed my part in this (phew) and so now I can rest easy and watch as it moves around the country, being added to by 7 more printmakers.


So, why do I think collaborative projects are good for your growth as an artist, and why should you participate if you get the chance?

  • meet other like-minded artists - you may meet people who will become life-long friends, mentors or even fans of your work!
  • build communities of like-minded artists for support, inspiration and future opportunities,
  • share knowledge and ideas - see how others work and have the opportunity to discuss ideas for ways of working or approaching problems. I've learnt new tricks and tips that I can add to my arsenal and I love to share what I've learnt along the way,
  • have the opportunity to work in a way that you wouldn't normally work - it opens you up to try new things and explore new ideas,
  • share the trials and the tribulations of a project - you may think that you are the only one fretting over what you will do and how you will achieve it but, actually, you're not alone - even the artists you look up to are probably quietly fretting over the same things: will I stuff it up?, what if no-one likes what I've done?, what if I leave smudges?....
  • let go of your ego - there's no room for ego in a collaborative project - it's about a shared experience, mutual respect for everyone involved and mutual reward for the results. This can be a freeing, and at times, challenging experience,
  • because you don't have control of the project (no-one does) you never know where it will end up and what will be revealed along the way - I find this really exciting and completely different from how I used to work where everything was preplanned within an inch of it's life!
  • learn to embrace the "happy accident" and the imperfect - it doesn't have to be perfect (sez me and I'm known as a perfectionist!), and it never WILL BE. In fact I'm learning to embrace the Japanese aesthetic of Wabi Sabi centred on the acceptance of transience and imperfection - perfect for collaborative projects!

For a bit more reading on the topic of collaborative art projects read this article here.


So, give it a go next time an opportunity arises, 
or go in search of an opportunity
or create the opportunity yourself!

You'll stretch yourself in ways you never expected and meet wonderful people along the way.


SGCI Themed Portfolio - An honour to be invited to participate.


Earlier this year I was invited to join a group of NZ printmakers in contributing towards a themed portfolio for the conference FLUXPortland hosted by SGCI (Southern Graphics Council International). The conference is being held in Portland, Oregon in March 30 - April 2, 2016.

I had no idea that such an organization could exist for printmakers and that there could possibly be conferences of this size (or any size actually) to promote and support the art of printmaking. My perspective obviously comes from living in this beautiful wee country at the bottom of the world, so far from everywhere else, where printmaking supplies are, at best, expensive and at worst, not available, except possibly on-line. (A recent trip to Spain (and the abundance of art stores) revealed to me the reality of our remoteness.)

So, what is a themed portfolio?
Each group has a curator who submitted a proposal describing how their group would create work to fit within the theme

F L U X :

THE EDGE OF YESTERDAY AND TOMORROW


Individually we each have to produce an edition of 20 prints (one for each person in the group + 3 for the SGCI archives + 3 spares for our own archives) which speak for our own personal view on the theme proposal.

As part of our proposal we are also producing an edition of 20 prints collaboratively. This edition of prints is posted from one artist to the next and each artist adds their contribution, responding to what has been done before. We have a fairly tight time-frame to work within in order to have our work completed in time for  shipping at the end of the year. With 14 printmakers working in a variety of media this project brings with it an instability and rate of unpredictable change which can be both exciting and nerve-wracking to be a part of. (My part is done, whew!) To follow the progress of our collaborative print you can visit the facebook page
"Aotearoa SGCI Themed Portfolio".

Collaborative print in progress - 6 printmakers
have contributed so far.

What have I been working on for the portfolio?
In this world of digital imaging where you can press a button and out pops any number of images from your home printer on to photographic paper, art papers or even fabric, it can be hard to comprehend the reality of what printmaking actually can entail and the amount of (literally) blood (spearing oneself on cutting blades), sweat (from the physical energy of cranking prints through a press - in my case repurposed mangle and homemade bookpress) and tears (of frustration when the best laid plans simply do not go to plan - was it the paper - too wet/ too dry, the ink, the plate, the pressure, ... or was it me?!) that are involved in the creation of an image.

 I also think that being blessed/cursed with a "perfectionism" trait
makes editioning all the more vexing.

So, to produce an edition of 20 prints I wanted to choose a process that would most likely give me repeatable results with, hopefully, the least stress and anguish. Linocut. Only I had never really done much at all with lino. Step 1 was to learn, experiment, "perfect" (yeah right) the skills needed. I started out with small blocks of lino and progressed to larger blocks as I developed skills and worked out techniques. Of course as the block grew in size so too did some of the technical issues associated with the printing of the blocks. My book press needed more pressure. My technician (Hubby) provided a new mechanism for achieving this - a large steel tube to apply more leverage with less chance of a hernia! Simple physics really.


You can see some of the prints I have been working on in this learning process in my previous blogs here.

I'm not quite ready to unveil my finished prints just yet. I have been working with an image that can be viewed from multiple orientations as part of the ideas raised by the theme, which leaves me with a quandary: how/ where do I sign them.... hmmm...

Works produced in the process of developing my techniques and ideas will be exhibited at my coming Waitakere Printers Ink group show at the Barrel Store, Corban Estate Arts Centre.